
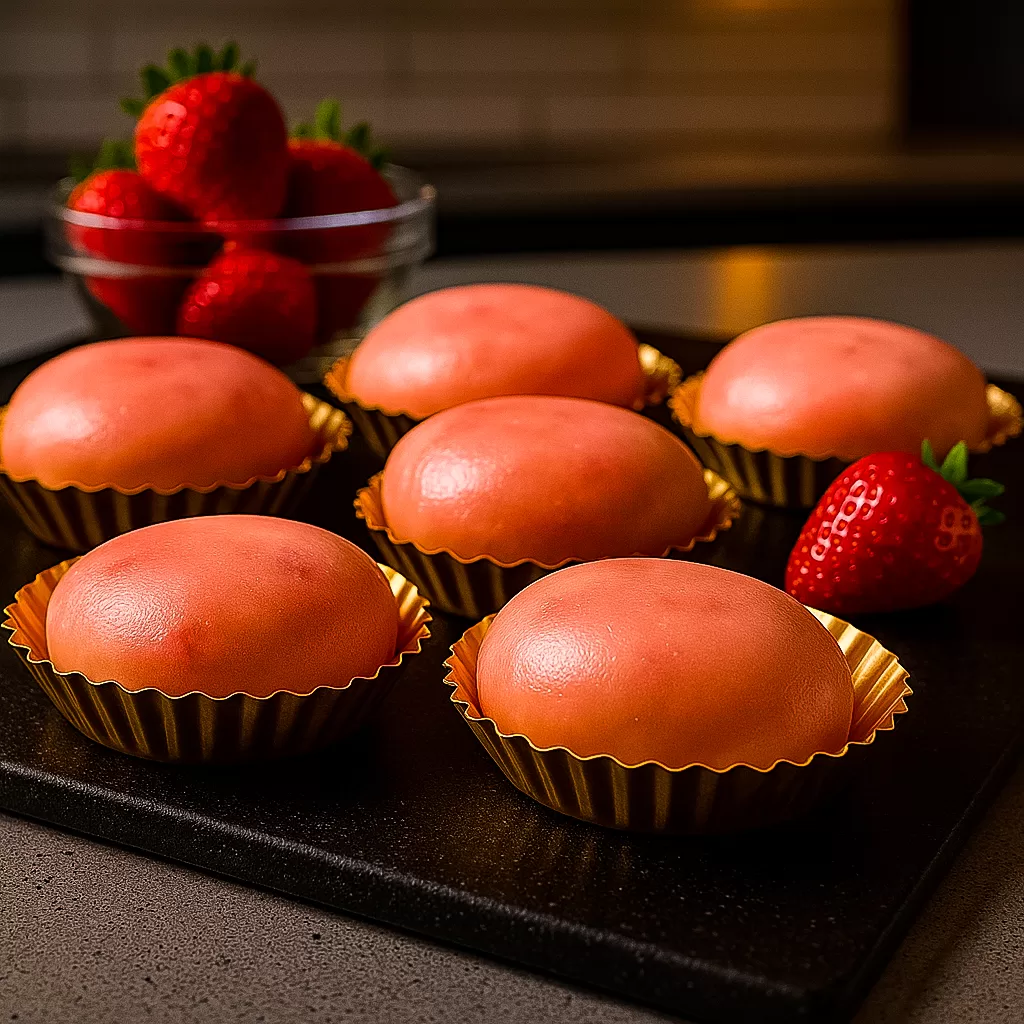
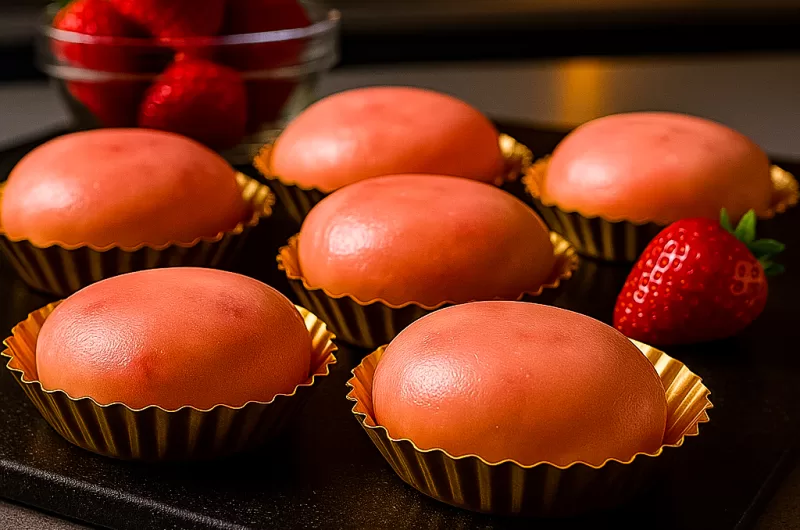
A strawberry-sweet escape wrapped in mochi magic.
Sweet. Squishy. Fresh cream heaven in your mouth
If you’ve ever bitten into one of those store-bought mochi balls and thought, “Wait… why is this red bean paste attacking me?” Girl, same. That’s obviously why we had to recreate this dreamy dessert in our own way. Think chilled whipped cream, juicy diced strawberries, and the softest pink mochi dough you’ve ever sunk your teeth into.
The Inspo?
This recipe is particularly inspired by the Japanese classic Ichigo Daifuku, which traditionally uses red bean paste. We’re swapping that for something lighter, fresher, and – honestly – cuter. Real strawberries, real cream, and even more real joy in every bite. Equally as delicious, but certainly less time-consuming.
Jump to RecipeAnd no, we’re not talking about the strawberry mochi strain your cousin probably won’t stop giggling about. This is the kind of treat you can actually serve at brunch, not roll at a party. So, shake and bake?
Whether you’re a kawaii dessert girlie or just curious about what strawberry mochi really tastes like, you’re going to love this simple, chewy, sweet little snack.
Quick Facts
- Prep Time: 25 minutes
- Cook Time: 4 minutes (microwave or steam)
- Rest Time: 45 minutes
- Total Time: 1h 10m
- Servings: 8
- Difficulty: Super Easy
Why You’ll Love This Strawberry Mochi
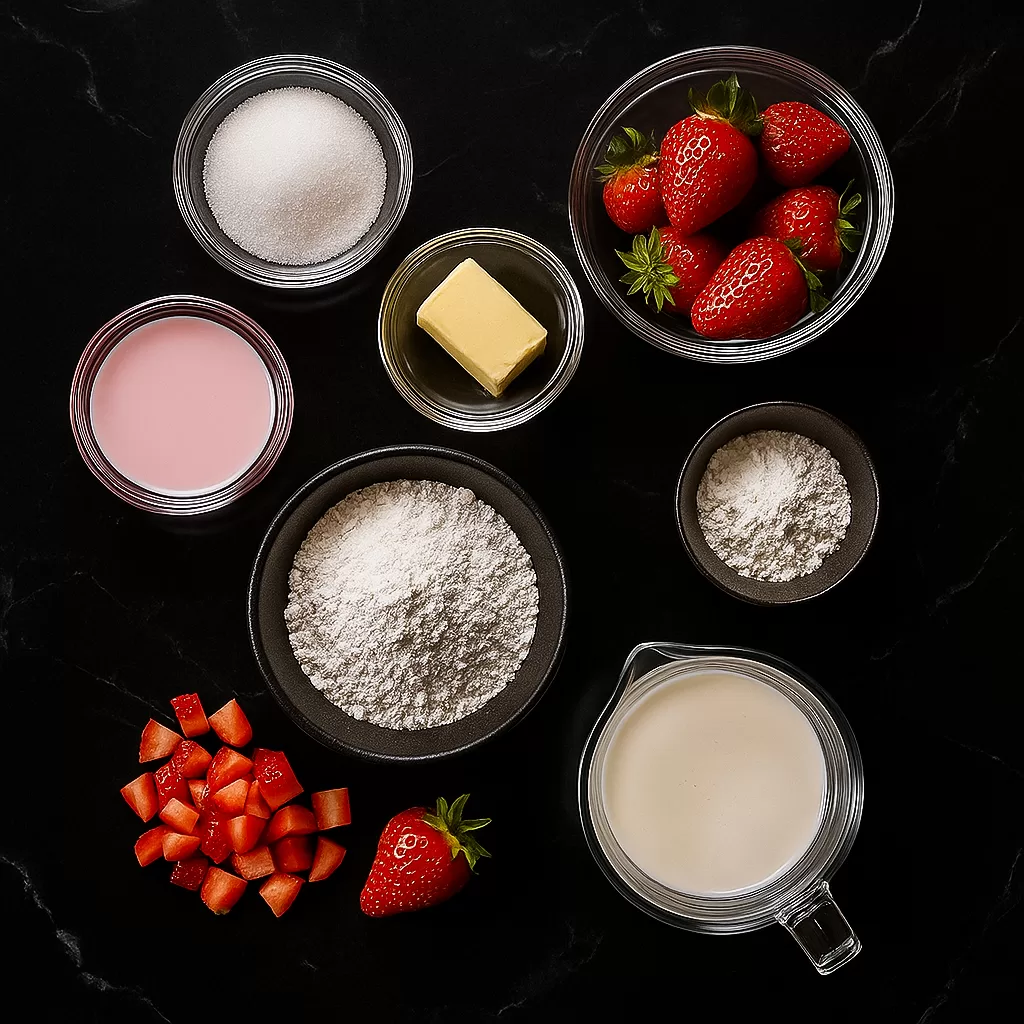
Ingredients You’ll Need:
- 100g (⅔ cup) glutinous rice flour (sweet rice flour, not regular)
- 30g (¼ cup) corn flour (aka cornstarch), plus extra for dusting
- 50g (¼ cup) white granulated sugar
- 180ml (¾ cup) whole milk
- ¼ teaspoon pink food coloring (optional)
- 20g (1½ tablespoons) unsalted butter
- 250ml (1 cup) heavy cream or double cream (or Orley Whip)
- 2 tablespoons icing sugar (aka powdered sugar)
- ½ teaspoon vanilla essence
- ±12 fresh strawberries, finely diced
Let’s Cook!
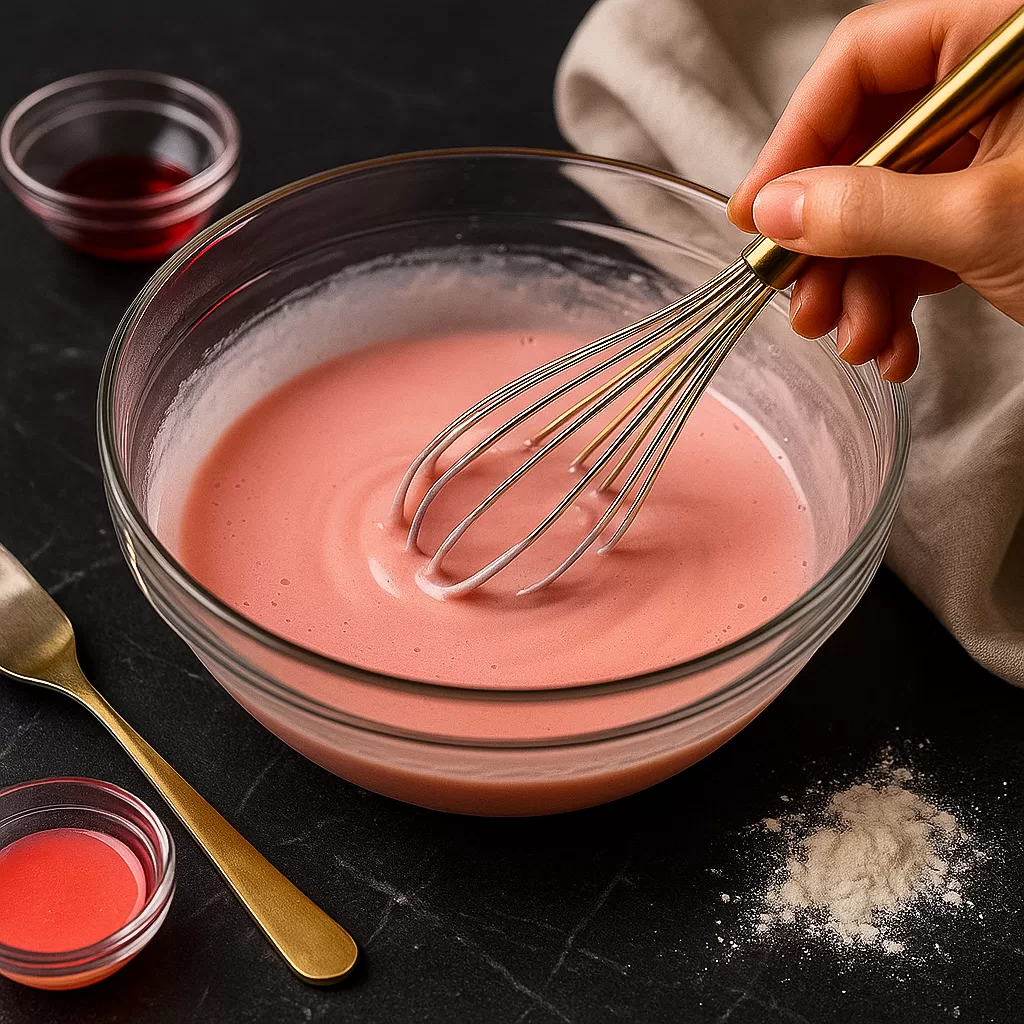
Step One: Whisk Up That Mochi Batter
Start by combining glutinous rice flour, cornstarch (corn flour), and sugar in a mixing bowl. Whisk to blend everything evenly.
Slowly pour in the milk while whisking. If you want a dreamy blush tone, add a little pink food coloring. The batter should be smooth and lump-free, almost like crepe batter.
💡 Bestie tip: If you see any lumps, strain it before cooking for extra smoothness.
Step Two: Cook the Mochi Dough
Strain the batter into a microwave-safe bowl. Cover it with plastic wrap and poke a few holes to let steam escape.
Microwave for 2 minutes on high. Carefully remove the wrap, give the dough a stir, then cover again with fresh wrap and microwave for another 2 minutes. The result should be thick, glossy, and sticky.
💜 Occasionally, it might look strange and super stretchy. That’s exactly what you want!
Step Three: Add the Butter
While the mochi is still warm, mix in the butter until fully melted and absorbed. This helps the dough become softer and more elastic.
Cover the bowl again and refrigerate the dough for 30 to 45 minutes. It should feel cool to the touch and easier to handle, but still pliable.
Step Four: Make the Whipped Cream Filling
In a clean bowl, add the cream, icing sugar, and vanilla essence. Whip until stiff peaks form. You can use a hand mixer, a stand mixer, or even a strong arm with a whisk.
Chop your strawberries into very small pieces so they fit easily inside the mochi without tearing the dough. Keep both the whipped cream and strawberries chilled while you prep the mochi.
Step Five: Knead and Portion the Dough
Once the dough is chilled, dust a clean surface with corn flour and turn the mochi out onto it. Knead gently until smooth.
Divide into 8 equal portions. If you want precision, use a kitchen scale. If not, just eyeball it and go with your intuition.
💅 You’re the artist here. They don’t need to be perfect to be cute.
Step Six: Shape and Fill
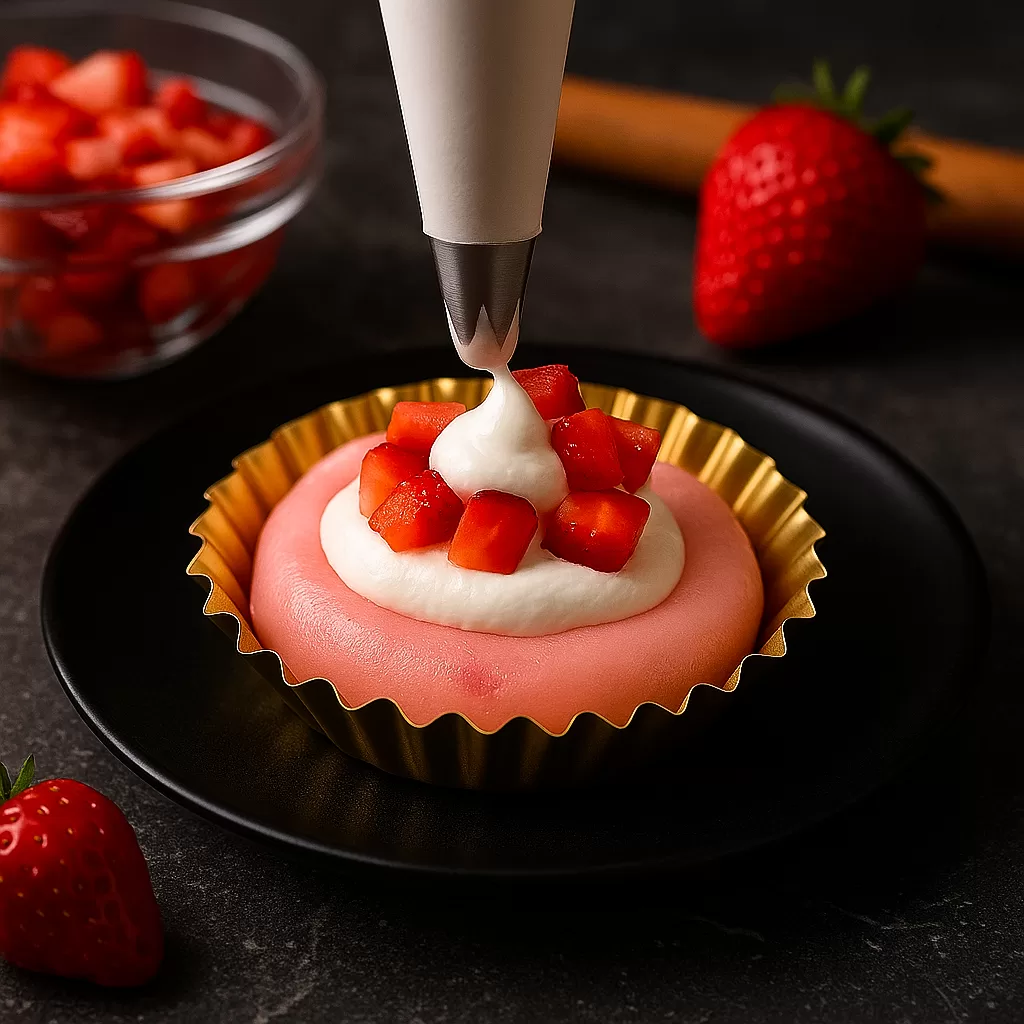
Flatten one mochi portion into a small disc using your fingers or a rolling pin. Once it’s pressed down, it should be just large enough to wrap around the filling.
Place the disc inside a ramekin or cupcake liner to help hold its shape. Then, pipe or spoon in some whipped cream, add a spoonful of diced strawberries, and top with a little more cream. Carefully pinch the dough until it’s closed at the top.
In case there’s extra dough bunched up, snip it off for a neater finish.
Step Seven: Chill or Serve
Place each filled mochi seam-side down in a cupcake liner. You can enjoy them right away or chill them in the fridge for 10 to 15 minutes for a firmer bite. However, we do understand how difficult it is to wait for the yum!
Each one is soft, stretchy, creamy, and filled with real strawberry goodness. No red bean. No weird fillings. Just pure handmade sweetness. Undeniably scrumptious.
✨ Final Thoughts
Making mochi at home might seem intimidating at first, but once you try it, it’s surprisingly simple and genuinely fun. Still, this recipe isn’t about perfection. If your mochi looks a little wonky or the cream spills out a bit, they’re still completely adorable and absolutely delicious.
Every bite is soft, chewy, and filled with real strawberries and whipped cream. It’s the kind of dessert that looks like it came from a fancy café, but you made it in your own kitchen. Obviously, that’s power!
Whether you’re making these for a picnic, a glow-up treat, or just because you deserve something cute, you’re going to fall in love with how easy this is to master.
Now that you’ve nailed the technique, let’s get into some of the most asked questions about strawberry mochi.
FAQ – Homemade Strawberry Mochi Edition:
Strawberry mochi is a soft and chewy Japanese dessert made from glutinous rice flour. Traditionally called Ichigo Daifuku, it’s filled with a whole strawberry and sweet red bean paste. This version swaps the bean paste for whipped cream and diced strawberries for a lighter, fresher take.
It tastes like a creamy, fruity cloud. The outer mochi is chewy and slightly sweet, while the filling is cold, soft, and full of real strawberry flavor. If you’ve never had mochi before, imagine a cross between marshmallow and jelly, wrapped around strawberries and cream.
You make a mochi dough by cooking glutinous rice flour with milk, sugar, and corn flour. Once cooled, the dough is filled with whipped cream and fresh strawberries, then pinched closed and served chilled. It’s simpler than it sounds and very beginner-friendly.
Yes. This version uses whipped cream instead, which is perfect if red bean isn’t your thing. You can also experiment with other fillings like chocolate ganache, custard, or even ice cream.
Absolutely. Store them in the fridge for up to 2 days. For the best texture, let them sit at room temperature for 10 minutes before serving.
Not recommended. While strawberries on their own are safe in moderation, mochi dough and dairy can be hard for pets to digest. This one’s strictly for the humans.
Mochi ice cream has an ice cream center and is served cold. Strawberry mochi is typically filled with whipped cream or red bean and eaten fresh or lightly chilled. They share the same dough base but have very different textures.
There is – and we’re not judging! But this recipe is for the dessert kind. Even if you showed up looking for edibles, you might still enjoy this version. It’s soft, sweet, and legal in every kitchen.
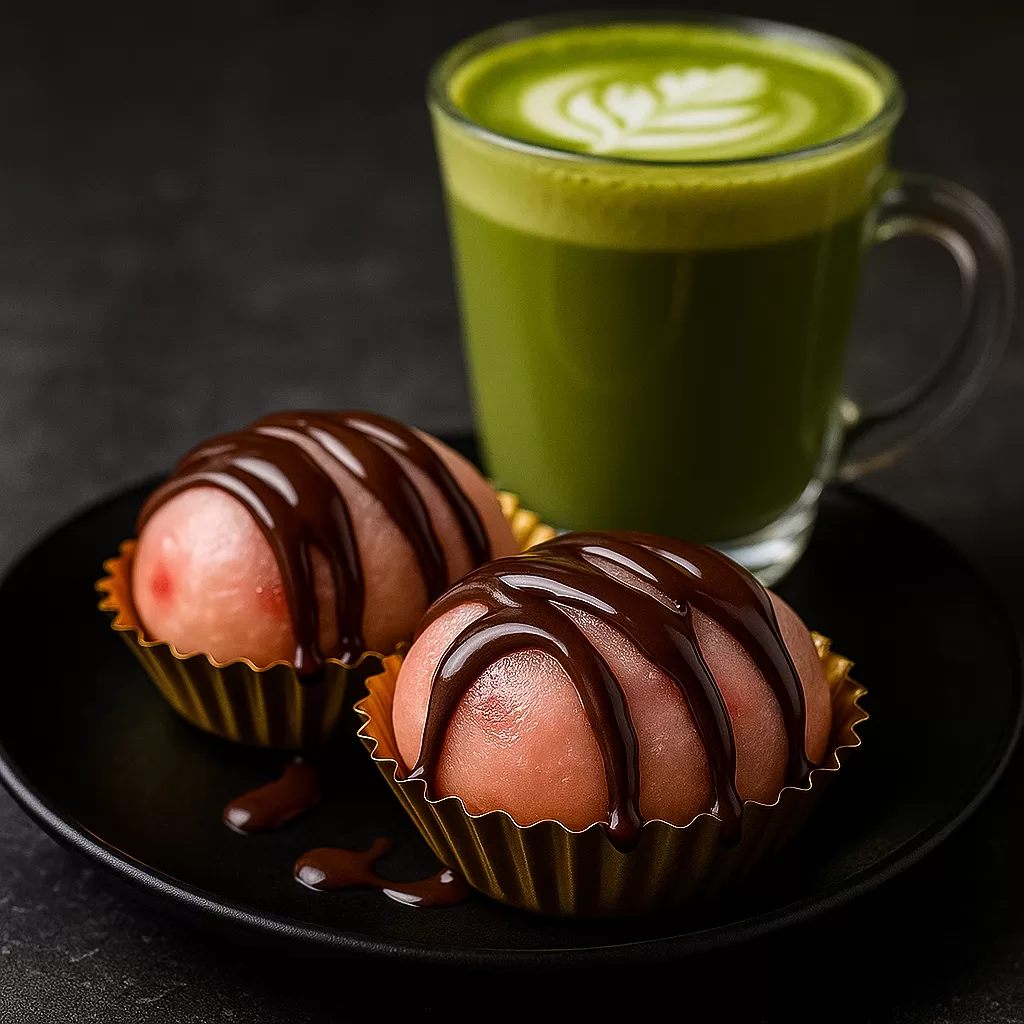
Serving Suggestions
These strawberry mochi are perfectly extra on their own, but here’s how to serve them like a full-blown dessert goddess:
Meal Prep, Storage & Reheat Tips
- Make the mochi dough and whipped cream a day in advance, then assemble just before serving. The dough keeps well overnight in the fridge, and pre-whipped cream holds its shape if stored cold and covered.
- Fridge:
Store finished mochi in an airtight container in the fridge for up to 2 days. The texture is best when eaten fresh, but still soft and delicious the next day. Add a layer of parchment between them if stacking to avoid sticking. - Freezer:
You can freeze them, but it slightly changes the texture. If you go this route, wrap each one in cling film and store in an airtight container. Let thaw in the fridge for a few hours or at room temperature for 20 to 30 minutes before serving.
- Mochi isn’t typically reheated once filled. But if you want to gently soften leftover plain mochi dough (before filling), microwave in 10-second bursts until warm and pliable.
- If you want seconds for later, no hassle!
Whip up this Strawberry Mochi with Fresh Cream and let us know how it turned out. Drop a comment if you’re as obsessed as we are, and tag @vievacious_official so we can swoon over your kawaii mochis!
If you’re looking for something asian-inspired and more savoury, try our Chicken Teriyaki Fried Rice: Better Than Takeout! recipe instead. Surprisingly easy to whip up. Still hits the spot!
Homemade Strawberry Mochi
Course: DessertCuisine: AsianDifficulty: Easy8
servings25
minutes4
minutes160
kcal45
minutes29
minutesIf you’ve ever bitten into one of those store-bought mochi balls and thought, “Wait… why is this red bean paste attacking me?” Girl, same. That’s why we had to recreate this dreamy dessert in our own way. Think chilled whipped cream, juicy diced strawberries, and the softest pink mochi dough you’ve ever sunk your teeth into.
Ingredients
100g (⅔ cup) glutinous rice flour
30g (¼ cup) corn flour (cornstarch), plus extra for dusting
50g (¼ cup) white granulated sugar
180ml (¾ cup) whole milk
¼ tsp pink food coloring (optional)
20g (1½ tbsp) unsalted butter
250ml (1 cup) heavy cream or double cream (or Orley Whip)
2 tbsp icing sugar (powdered sugar)
½ tsp vanilla essence
±12 fresh strawberries, finely diced
Directions
- Step One: Mix the Mochi Batter
- Combine glutinous rice flour, corn flour, and sugar in a bowl. Slowly add the milk and food coloring, whisking until the mixture is smooth and lump-free. Strain through a fine mesh sieve for extra silkiness.
- Step Two: Cook the Dough
- Cover the bowl with plastic wrap and poke a few holes for steam to escape. Microwave for 2 minutes. Stir, re-cover, and microwave for another 2 minutes until thick and glossy.
- Step Three: Add the Butter
- While the dough is still warm, stir in the butter until fully absorbed. Cover and refrigerate for 30 to 45 minutes until cool and slightly firm.
- Step Four: Make the Filling
- In a mixing bowl, whip the cream with icing sugar and vanilla essence until stiff peaks form. Dice your strawberries into small pieces and set aside.
- Step Five: Knead and Portion the Dough
- Dust a clean surface with corn flour. Turn out the chilled mochi dough and knead until smooth. Divide into 8 equal portions.
- Step Six: Shape and Fill
- Flatten one piece of dough into a disc. Add whipped cream and strawberries in the center. Pinch the dough closed at the top to seal. Trim excess if needed.
- Step Seven: Serve or Chill
- Place each mochi seam-side down in a cupcake liner. Serve immediately or refrigerate for 10 to 15 minutes to set.
Notes
- Dairy-Free: Use oat milk, almond milk, or coconut milk instead of regular milk. Swap butter for vegan margarine or coconut oil. Choose a plant-based whipping cream like Flora Plant, Elmlea Plant, or Orley Whip Non-Dairy.
- Vegan-Friendly: Combine all the dairy-free options above and ensure your food coloring is vegan (some red tones contain animal products). This version is already egg-free and meat-free.
- No Food Coloring: Totally optional. Skip it for a neutral mochi or use a pinch of beetroot powder or strawberry powder for natural pink vibes.
- Cream Options: If you’re in the UK or US, use double cream or heavy whipping cream. South African readers can use Orley Whip (original or non-dairy) with great results.
- Glutinous Rice Flour Only: Do not substitute with regular rice flour. Glutinous or sweet rice flour (like mochiko) is essential for the chewy texture that makes mochi, mochi.
- Corn Flour vs Cornstarch:
Same thing, just different names. “Cornstarch” in the US, “corn flour” in the UK. Just make sure it’s that fine white powder and not cornmeal!